- Home >
- Web Help >
- SeekerWorks™ >
- My Info/General Info - EZ Check-IN
My Info/General Info - EZ Check-IN
The EZ Check-IN process is a fast, secure way to Check-IN and route children to the right room, and make sure only those authorized can pick up and Check-OUT those same children. Since everything is picture based, no one can impersonate another person and try to pick up a child they're not authorized to pick up, even if the unathorized person is an estranged parent. The process can be RFID-card or key fob based using a proximity card reader, or main phone number based using a touch-screen to bring up the selection screens. Labels, with pictures, can be printed on a DYMO printer, as well as Check-IN reports showing allergies, restrictions, etc. or Check-OUT reports indicating who is authorized to pick up a child.
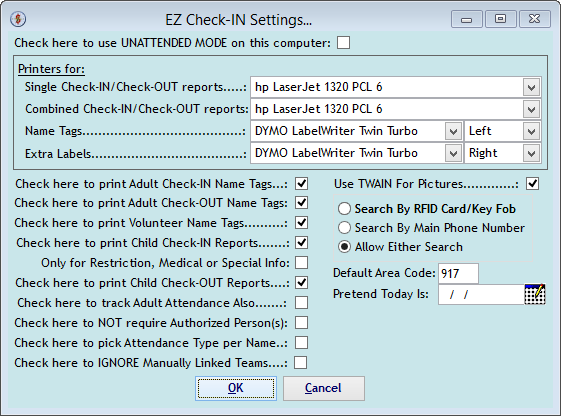
The EZ Check-IN Settings screen is the first screen in the process to determine which options you do or don't want to use. If a printer is blank, that particular report or label won't print. Check the boxes you want and leave the rest un-checked. Use the 'Pretend Today Is' date to try it out in advance. Click (OK) to continue.
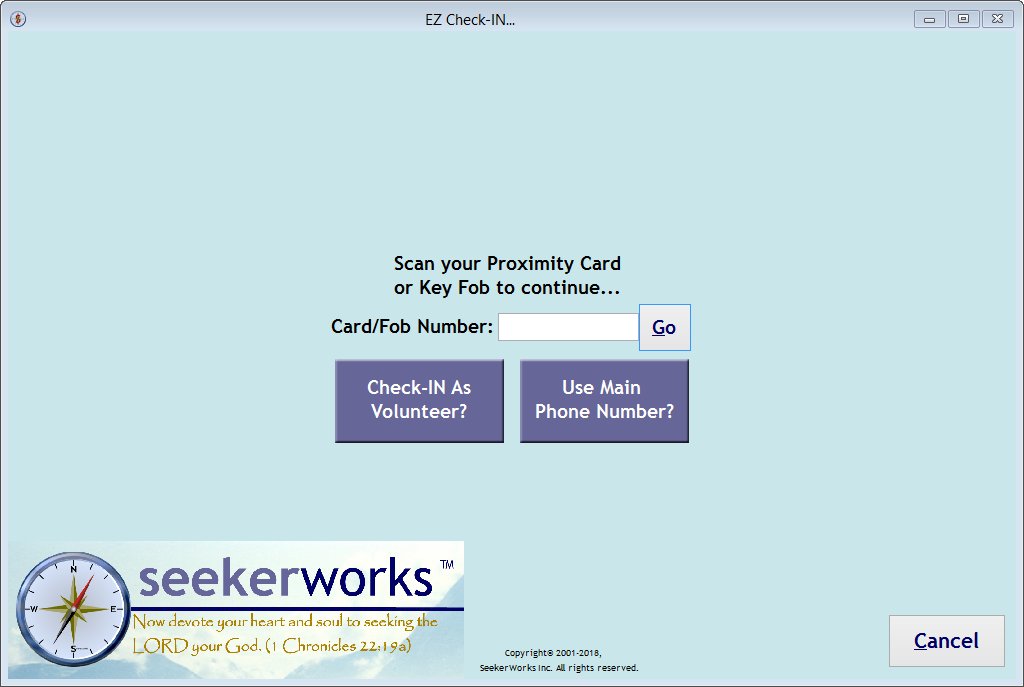
The EZ Check-IN... screen is the start of the process. Scan an RFID Card or Key Fob using the pcProx card reader, or click the (Use Main Phone Number?) button and put in Main Phone Numbers using a touch-screen instead. The scanner will click (Go) automatically, but you'll have to click (Go) yourself after keying in a phone number.
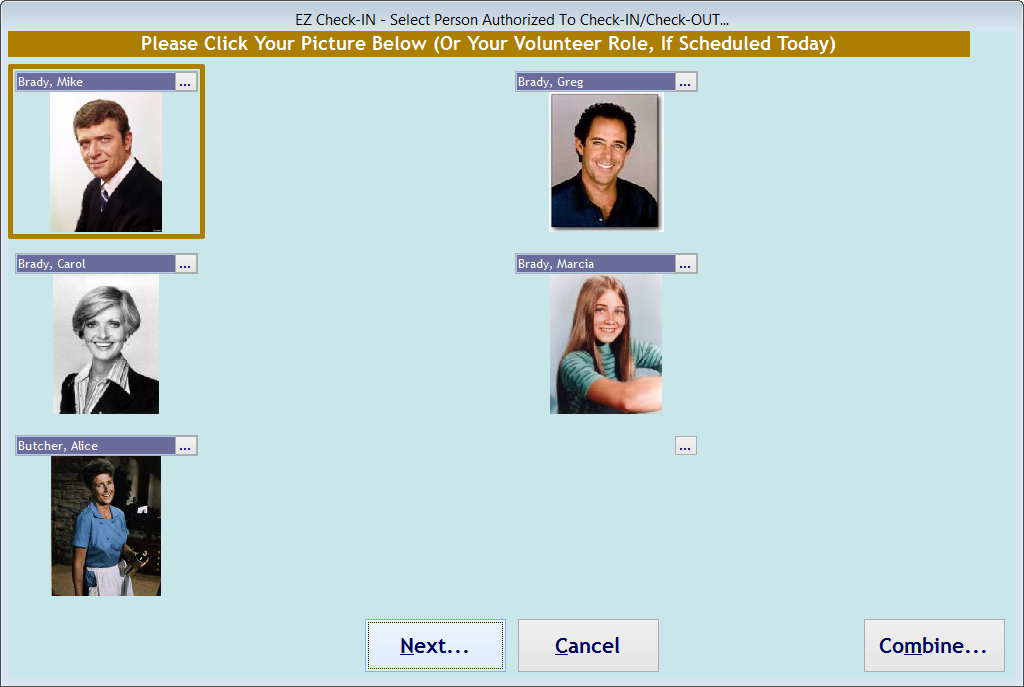
The EZ Check-IN - Select Person Authorized To Check-IN/Check-OUT screen indicates who is checking the children in. Touch your picture to select it. If you're scheduled to volunteer at the same time, click that button first. The (Next...) button will be clicked automatically.
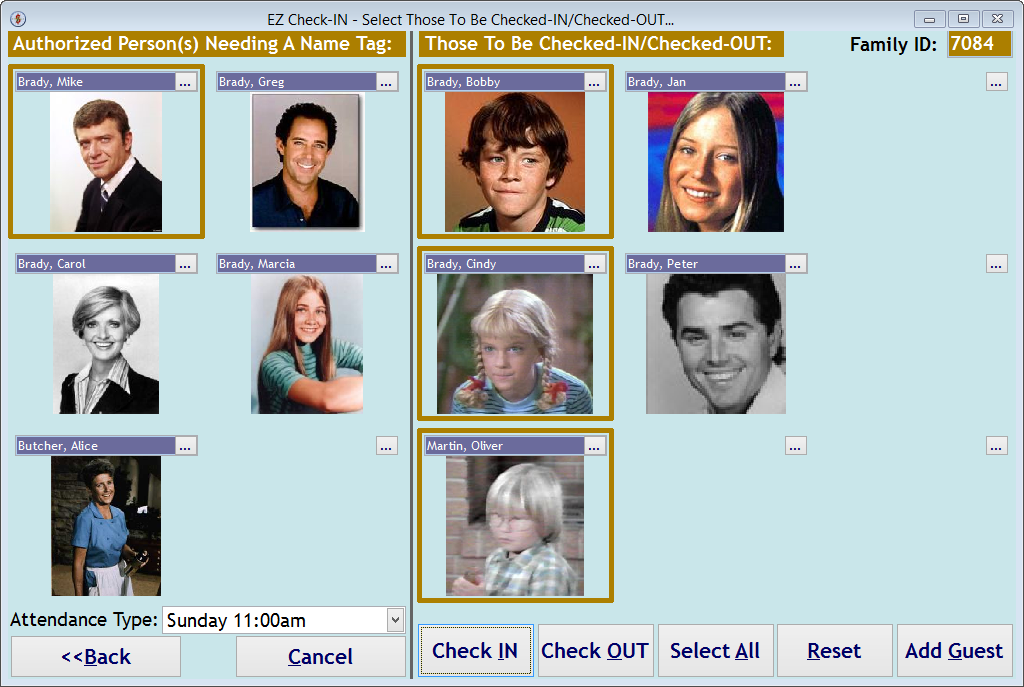
The EZ Check-IN - Select Those To Be Checked-IN/Checked-OUT screen is used to record which children are being checked in. Touch their pictures, pick the attendance type for the service you are attending, then click the (Check IN) button. Name Tag(s), Label(s), and a Check-IN report may print, depending on the settings you picked above. See the samples below. The screen will change back to the EZ Check-IN... screen above.
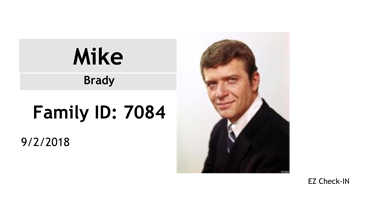
Name Tag(s) for the parent:
Name Tag(s) for the kids:
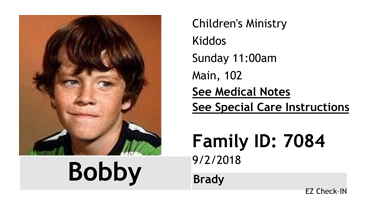
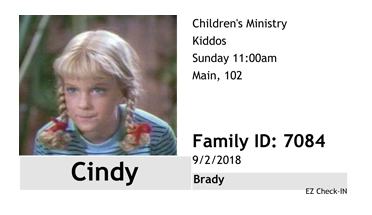
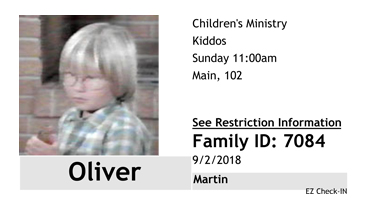
Extra label(s) for the kid's backpack or diaper bag:


Check-IN Report showing restrictions, medical notes or special instructions:
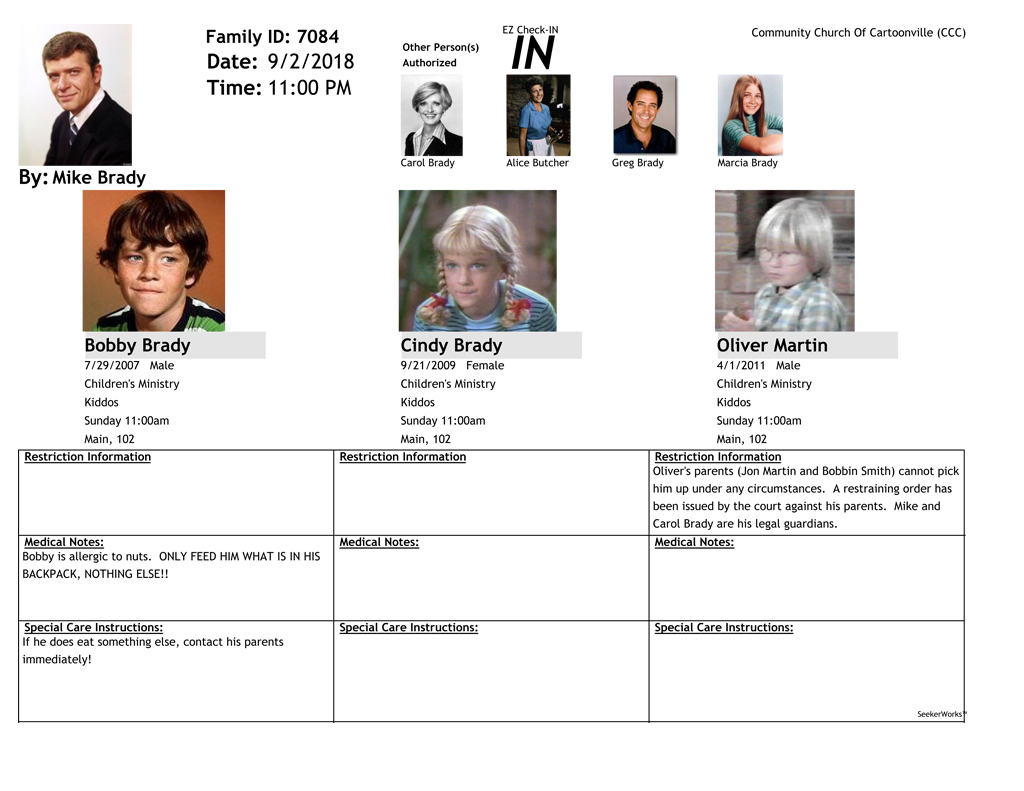
The Check-OUT process is even easier:
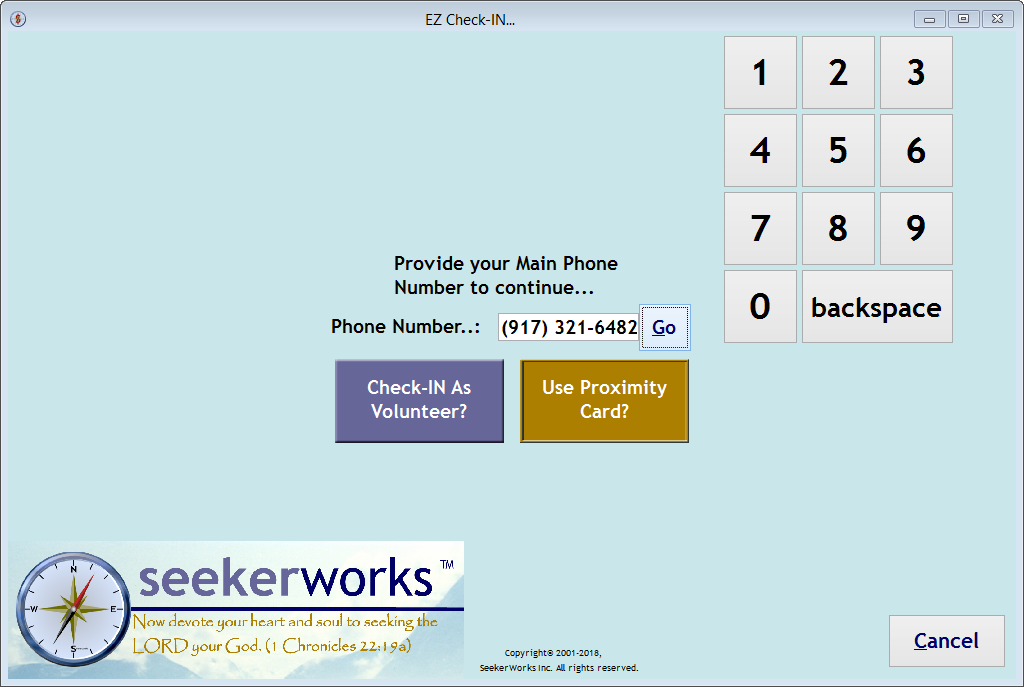
This time, we'll key in the Main Phone Number on the EZ Check-IN... screen using a touch-screen. Then we'll click (Go) to continue.
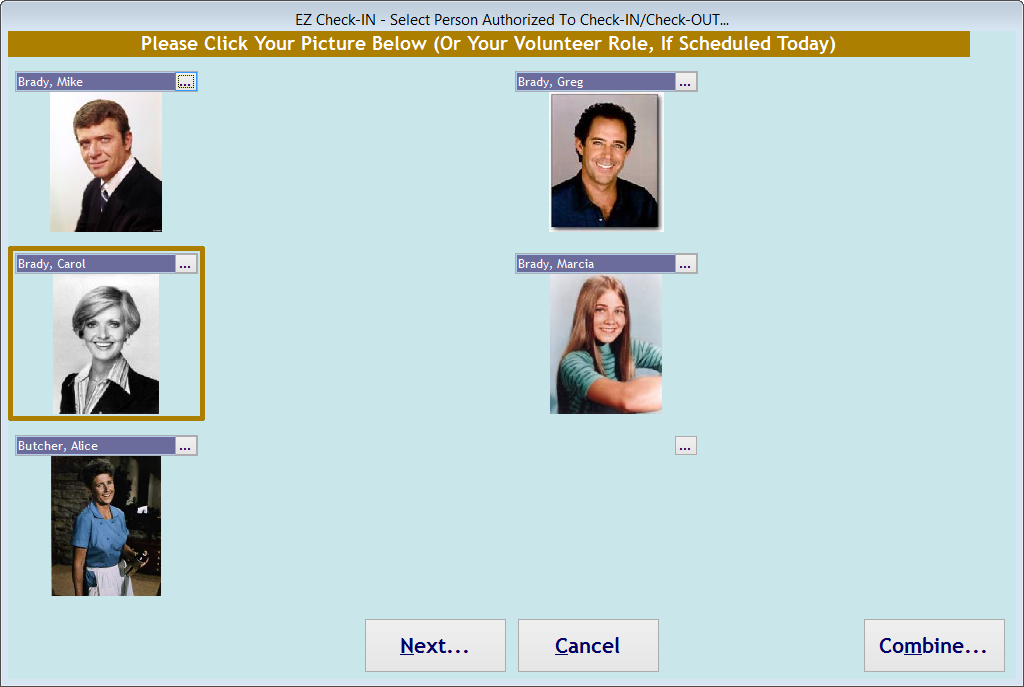
The EZ Check-IN - Select Person Authorized To Check-IN/Check-OUT screen indicates who is checking the children out. Touch your picture to select it. The (Next...) button will be clicked automatically.
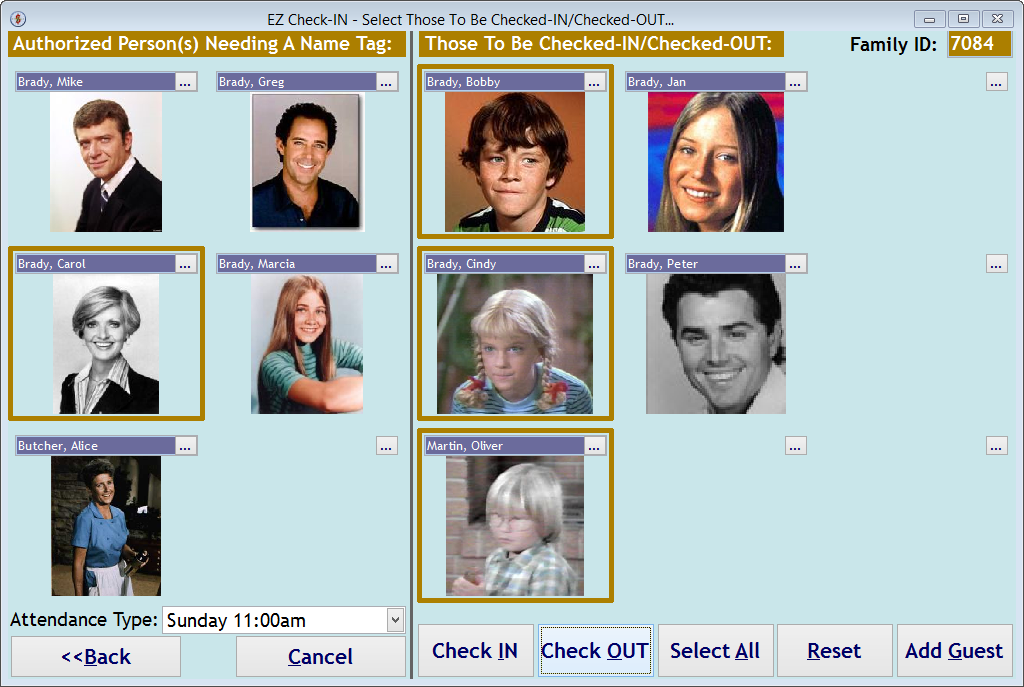
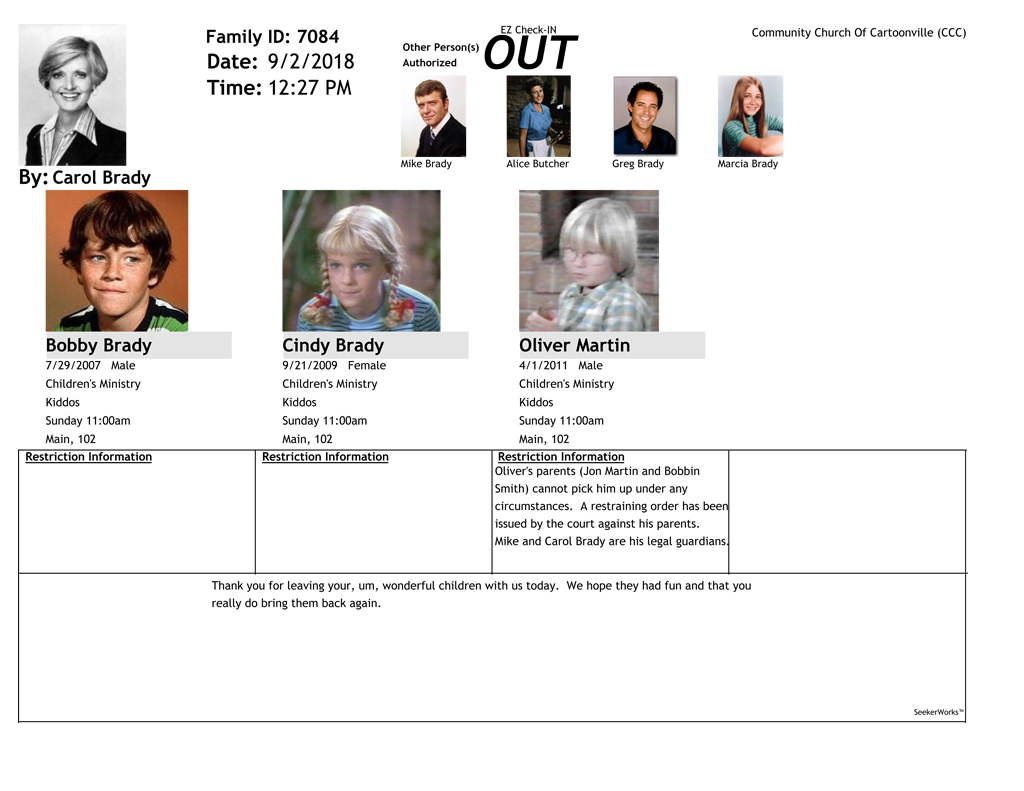
The EZ Check-IN - Select Those To Be Checked-IN/Checked-OUT screen automatically shows which children were checked in. Click the (Check OUT) button to continue. Name Tag(s), Label(s), and a Check-OUT report may print, depending on the settings you picked above. See the samples below. The screen will change back to the EZ Check-IN... screen above.
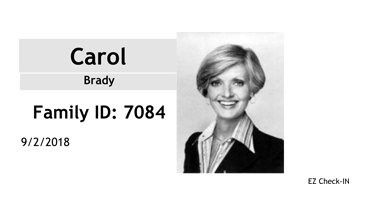
Name Tag(s) for the person who didn't already have one:
Check-OUT Report showing restrictions:
Right side navigation links:
More Screens:
People:
Gifts/Pledges:
My Info/General Info:
EZ Check-IN